
Technology
Top 7 Features of Counter.wmail-service.com: A Comprehensive Guide

In today’s digital age, keeping your systems secure and running smoothly is more important than ever. This is where Counter.wmail-service.com comes into play a powerful tool designed to help you terminate malicious processes, effectively remove malware programs, and ensure your computer stays safe.
What is Counter.wmail-service.com?
Counter.wmail-service.com is an advanced software solution aimed at providing comprehensive protection against various types of malware. It offers several standout features that make it a go-to choice for anyone looking to maintain a secure computer environment.
Let’s dive into the top seven features that set Counter.wmail-service.com apart from other anti-malware solutions.
1. Terminate Malicious Processes
One of Counter.wmail-service.com’s most critical features is its ability to terminate malicious processes efficiently. Malware often runs background processes that can be hard to identify and stop manually. Counter.wmail-service.com uses advanced algorithms to detect and terminate these malicious processes, thereby neutralizing potential threats before they can cause significant harm.
2. Effortless Malware Detection and Removal
Counter.wmail-service.com excels in detecting and removing malware programs from your system. By leveraging cutting-edge technology, it scans your system for any unknown or suspicious programs, offering a reliable method to identify and eliminate potential threats. This feature ensures that your system remains clean and operational without unnecessary interruptions.
3. User-Friendly Interface
Navigating through complex anti-malware tools can be daunting, especially for those who aren’t tech-savvy. Counter.wmail-service.com addresses this by offering a user-friendly interface that guides you through the process of securing your computer. Each step is clearly laid out, ensuring you can easily understand and follow the instructions without feeling overwhelmed.
4. Rkill Integration
Another notable feature is the integration with Rkill, a utility designed to terminate malicious processes. Counter.wmail-service.com uses Rkill to terminate malicious activities effectively. This allows you to focus on other aspects of system security while ensuring that any immediate threats are neutralized.
5. Comprehensive Uninstallation Guide
Malware programs often embed themselves deeply within your system, making them difficult to uninstall. Counter.wmail-service.com provides a thorough guide on how to uninstall malicious programs from your computer. This includes step-by-step instructions for identifying and removing these unwanted entities, ensuring no traces are left behind.
6. Real-Time Protection
Counter.wmail-service.com offers real-time protection against potential threats, constantly monitoring your system for any suspicious activity. This proactive approach ensures that threats are identified and dealt with promptly, minimizing the risk of infections.
7. Safe Browsing Recommendations
In addition to its malware detection and removal capabilities, Counter.wmail-service.com also educates users on the importance of safe browsing habits. By following the recommended practices, users can significantly reduce the risk of encountering malware online. This dual approach of active protection and user education makes Counter.wmail-service.com a robust solution for maintaining system integrity.
How to Use Counter.wmail-service.com Effectively
Step 1: Install and Set Up
Download and install Counter.wmail-service.com from the official website. Once installed, follow the setup instructions to configure the software according to your preferences.
Step 2: Scan for MMalicious Processes
Use the integrated Rkill utility to terminate malicious processes. This should be done before attempting to uninstall any malware programs to ensure they do not interfere with the removal process.
Step 4: Uninstall Malicious Programs
To uninstall malicious programs, follow the comprehensive guide provided by Counter.wmail-service.com. Ensure that all steps are followed meticulously to avoid leaving any remnants behind.
Step 5: Enable Real-Time Protection
Activate the real-time protection feature to monitor your system for potential threats continuously. This will provide ongoing security and peace of mind.
Step 6: Practice Safe Browsing
Adopt the safe browsing habits recommended by Counter.wmail-service.com to minimize the risk of encountering malware online. These practices include avoiding suspicious websites, not downloading files from untrusted sources, and being cautious with email attachments.
Conclusion
Counter.wmail-service.com is a robust and user-friendly solution for protecting a computer from malware. It can terminate malicious processes, provide detailed guides for uninstalling unwanted programs, and offer real-time protection features, making it a comprehensive tool for maintaining system security.
Don’t leave your system vulnerable to threats. Embrace the power of Counter.wmail-service.com and take the first step towards a safer, more secure computing experience. For those ready to enhance their digital security, download Counter.wmail-service.com today and explore its full range of features.

Introduction
The word Duster brings to mind a simple, sturdy SUV many people trust. This car feels practical and honest. It fits families, adventurers, and daily drivers alike. People praise its space, its simple tech, and its low cost to own. In this article, I explain what makes the Duster special. I use clear, short sentences that are easy to read. I give real facts, helpful tips, and plain advice. I show numbers where they matter and share trusted insights. Read on for design notes, engine choices, safety facts, buying tips, and six common questions. By the end, you will know whether this model suits your life and budget.
What it is
The Duster is a compact SUV that blends value with practicality. It started as a no-nonsense crossover people could afford. Over time, it grew more refined while keeping its core strengths. Today it comes in several versions for many markets. You can find models with mild-hybrid help or classic petrol engines. The Duster aims to offer a roomy cabin without high costs. It targets buyers who want a solid SUV without fancy frills. That clear purpose shaped its design and its price strategy. Many drivers see it as an honest car that gives you what you need.
Design and styling
The look of this compact SUV mixes toughness and neat lines. It keeps a broad stance and raised wheel arches. The front often shows a strong light design and simple grille work. Inside, the layout favors durable materials and sensible storage. The exterior has roof bars and protective cladding for outdoor use. Designers focused on useful features over delicate trims. That choice helps keep repair costs low over time. If you want flashy leather and soft touch everywhere, this might not be it. But if you want a rugged, honest SUV ready for trips, it fits the bill.
Engines and powertrains
You can pick from small petrol engines and mild-hybrid setups. Some markets also see a larger 2.0 petrol and 4×4 option. Engine output varies by region and trim level. The simplest petrol is easy to maintain and quite fuel friendly. The mild-hybrid choice helps with short town runs and saves fuel. For tougher terrain, a 4×4 option offers extra traction and control. Manuals, CVTs, and automatic options appear depending on model year. Always check exact engine details where you live before you buy. Each version balances performance and fuel economy differently.
Fuel economy and efficiency
This SUV can be quite frugal, depending on the engine you pick. Smaller petrols often return good fuel efficiency in mixed driving. Hybrid versions claim better urban economy and lower emissions. The mild-hybrid systems help reduce engine load at idle and in slow traffic. Real-world economy will change with load, terrain, and driving style. Drivers who favor calm acceleration often see the best numbers. If you plan long highway trips, choose an engine tuned for steady cruising. Official figures give a useful baseline when you compare trims.
Off-road capability and ground clearance
Raised ride height makes this model useful on rough tracks and muddy roads. Some trims list over 200 mm of ground clearance for easy approach. Four-wheel drive models include terrain selectors for snow, mud, and sand. The suspension is tuned for resilience rather than sporty handling. Protective skid plates help against rocks and bumps on trails. That setup gives confidence for weekend camping and farm access roads. Still, it is a compact SUV, not a heavy-duty truck. Match expectations to the terrain you’ll tackle most often.
Interior space and practicality
The cabin focuses on smart storage and easy cleaning for busy lives. Boot volume ranges from mid to large capacity, depending on trim and engine. With rear seats folded, the load area grows to take longer items. The double-floor and compartments help keep gear tidy on long trips. Front and rear passengers get sensible legroom for the class. Infotainment supports phone mirroring in many trims for maps and music. Materials lean toward durable plastics and simple switches for reliability. This makes the interior practical for family life and outdoor adventures.
Safety and ratings
Safety equipment varies by market and trim level. Many versions now come with driver aids like lane assist and emergency braking. Older models had fewer safety features, but recent upgrades improved this area. Buyers should look for multiple airbags, stability control, and strong crash ratings. Always compare the fitment of safety tech between trims before you buy. Choosing a version with active safety aids makes daily driving more secure. Families especially benefit from these modern protections.
Ownership and running costs
One big strength is the low cost of ownership compared to rivals. Insurance and repair parts tend to be cheaper for this model. Service intervals are reasonable and many mechanics know the platform. Fuel bills depend on engine and driving habits, but smaller engines keep costs down. Resale value varies by region and trim, so check local used prices. Warranty length also differs by country. If you plan to buy used, ask for full service history and check for rust or heavy off-road wear. Overall, the Duster aims to be affordable to run and repair.
Trim levels and options
Manufacturers offer a clear set of trims from basic to well-equipped. Basic trims give the essentials to keep the price low. Mid trims add nicer infotainment, alloy wheels, and comfort items. Top trims may include leather-effect seats and advanced driver aids. Some regions add unique packs like camping gear or cargo versions. You can often choose bar-style roof racks and protective mats. Decide which features you need before picking a trim. That saves money and avoids paying for extras you will not use.
How it compares with rivals
Against similar compact SUVs, the Duster wins on price and practicality. Some rivals offer fancier cabins or sharper handling. Others will have stronger dealer networks or better long-term resale. If you want rugged looks and simple tech, this model often leads. If you prefer premium fit and more silence inside, look at other brands. Compare boot size, fuel numbers, and safety kit when you shop. Test drives across a few models reveal which feels best for your needs.
Maintenance, tips, and common issues
Routine checks keep this SUV reliable for many years. Watch for common wear items like brake pads and suspension bushes. Keep the air filter fresh if you drive dusty roads often. For long trips, check belts and fluid levels before you leave. Choose genuine parts when possible, but good aftermarket parts can save money. If the car has a CVT, follow the service rules for transmission oil. Joining owner groups can give you tips on common fixes. These small steps help avoid surprises and control repair costs.
Customization and accessories
Owners often add roof racks for bikes and kayaks. Boot liners and mudflaps protect the paint and the interior. For camping, simple tents and sleep packs make trips easier. All-weather mats help keep the cabin clean in winter. Some dealers sell protection packs with skid plates and light guards. Choose only tested accessories that fit factory mounts. Proper accessories raise the car’s usefulness without harming safety. A small investment in the right bits makes the vehicle far more versatile.
Environment and hybrid tech
Newer mild-hybrid and hybrid setups reduce fuel use in town. The hybrid option often lets the engine rest for short electric-only runs. This suits stop-and-go traffic in cities well. Hybrid tech also helps reduce emissions and fuel bills. Still, the fuel gains depend heavily on how you drive. Long highway trips may show less benefit than urban driving. If your commute is mostly city, a hybrid variant can cut costs. Always review real-world test results to compare engines before buying.
Best use cases and who should buy it
The Duster fits families who want space and low costs. It serves people who enjoy weekend trips off the beaten track. Small business owners like cargo versions for city deliveries. First-time SUV buyers get easy driving and affordable upkeep. Buyers who want full luxury or sporty handling should consider other models. If you value honest design, big boot space, and rugged style, this one is sensible. Matching the trim to your needs ensures good value for the money.
Conclusion — is it right for you?
In short, the Duster blends value, space, and rugged practicality. It is not the quietest or plushest cabin in its class. But it will carry people, luggage, and pets without fuss. If low running costs matter, it can be a smart choice. Read the spec sheet carefully in your country before you buy. Test drive the same engine and trim you plan to purchase. Check local prices and dealer support for your area. If you like simple, practical design and honest value, this SUV may fit your life.
FAQs
Q1 — What is the best engine for daily driving?
A small petrol or mild-hybrid often works best for daily use. These choices give low city fuel use. They feel calm and save money on regular runs. If you carry heavy loads often, choose the bigger petrol. For mixed town and highway trips, a mild-hybrid balances economy and comfort.
Q2 — How much boot space does it offer?
Boot space depends on trim and engine choices. Typical figures start around mid-hundreds of litres. Folding the rear seats adds a lot of cargo room. Official brochures list exact litres for each version. Always confirm the details for the model in your region.
Q3 — Is the four-wheel drive model worth it?
Four-wheel drive helps if you face mud, snow, or steep tracks. It adds weight and usually lowers fuel economy. For mostly city driving, a 2WD version is often enough. Choose 4×4 if you need traction on rough ground frequently.
Q4 — Are parts and servicing expensive?
Parts and servicing tend to be affordable compared to premium rivals. Many mechanics know the platform well. Warranty coverage varies by country. Regular servicing and modest care keep costs predictable.
Q5 — How safe is the model?
Safety kit and crash scores differ by year and market. Some older models had fewer aids, but newer versions include more. Look for emergency braking, lane assist, and multiple airbags. Confirm the exact features on the trim you plan to buy.
Q6 — Should I buy new or used?
New gives full warranty and the latest gear. Used saves money but needs careful checks. Ask for service records and inspect for off-road wear. If budget is tight, a certified pre-owned unit can be a balanced choice.


Introduction
Indian textiles feel like a warm, living story. They carry color, skill, and decades of craft in each thread. When I touch a handwoven fabric, I sense a long heritage and careful hands. This article explores indian textiles in simple words. It will guide you through history, methods, materials, and ways to buy with care. You will meet techniques like ikat, block printing, and brocade. You will learn why artisans matter. I share small real-life notes from markets and craft villages. My goal is to make this topic clear and useful. Read on to find tips, facts, and friendly advice about indian textiles you can use right away.
A Short History of Indian Textiles
India has woven cloth for thousands of years. Ancient traders shipped cotton and silk across seas. Textiles shaped local life and global trade. Cities like Varanasi, Kanchipuram, and Ahmedabad grew around looms. Kings and merchants funded designs and workshops. British rule changed the industry a lot. Handlooms lost some ground to mills. Yet rural weavers kept old methods alive. Independence revived interest in khadi and handcrafts. Today, indian textiles blend history and modern taste. Museums, family stories, and village workshops keep this memory. Each sari or shawl can tell a story about place, material, and the hands that made it.
Materials and Fibers: What Fabrics Tell Us
Materials make the first promise of a textile. Cotton is soft, cooling, and common in many regions. Silk brings sheen, strength, and festive value. Wool and pashmina offer warmth from Himalayan towns. Hemp and linen appear in some coastal areas. Modern blends add stretch and affordability. Natural fibers age well and breathe. They also accept natural dyes beautifully. The fiber guides care, price, and feel of the cloth. Look for labels and ask sellers about fiber content. A true cloth often has a small irregularity from handwork. These small flaws can be proof of authenticity and of the artisan’s involvement.
Famous Weaving Centers and Regional Styles
India’s regions each have a textile voice. Banaras is famous for brocade saris with gold zari. Kanchipuram produces heavy silk for weddings. Bengal is known for soft cotton and jamdani weave. Assam offers muga and eri silk with subtle shine. Gujarat and Rajasthan excel in bandhani, ajrakh, and bold block prints. Andhra and Telangana are home to vibrant ikat and pochampally weaves. Chanderi from Madhya Pradesh brings light silk-cotton blends. Each center shaped local patterns and techniques. When you buy a product, the place of origin often tells its method. Knowing this helps you recognize authentic work and appreciate regional craft identities.
Iconic Techniques and What Makes Them Special
A few techniques define the magic of indian textiles. Ikat ties yarns before dyeing to make blurred designs. Bandhani uses tiny tie-dye dots to form patterns. Kalamkari hand-paints or block-prints designs on cotton. Block printing presses carved wooden blocks to stamp repeat motifs. Brocade uses extra threads like zari for rich patterns. Chikankari is delicate shadow-work embroidery from Lucknow. Ajrakh uses resist dyeing and natural indigo for deep blues and reds. Each method demands different tools and time. Many take days or weeks for one yard of fabric. These techniques give texture, history, and value to the final cloth.
The Role of Artisans and Handloom Communities
Artisans are the heartbeat of textile craft. Families often pass skills through generations. A master weaver might teach many helpers in the same workshop. Handloom communities live near rivers and markets for dye and fiber access. Their work is physical and precise. Loom setups and shuttle movements become muscle memory. Women and men play different roles in many crafts. Payments, seasonal work, and access to markets shape livelihoods. Fair pay and direct buying help preserve these communities. When we understand the artisan’s role, we make smarter buying choices. Supporting a craft means valuing the person behind each piece, not only the image it presents.
Dyeing, Natural Colors, and the Science Behind Them
Dyeing changes plain yarn into color and mood. Natural dyes come from plants, roots, and even insects. Indigo, turmeric, madder, and pomegranate are classic sources. Natural dyeing needs mordants to fix color to fiber. The process can take days of soaking and rinsing. Synthetic dyes grew popular for speed and uniformity. Yet natural dyes remain prized for depth and patina. They age gracefully and feel gentle on skin. Small variations in shade tell you the dyeing was likely done by hand. For sustainability, many craftsmen now mix old recipes with safer chemicals. Learning about dye choice helps shoppers pick fabrics that match personal values.
Indian Textiles and Sustainability: Challenges and Opportunities
Sustainability is a hot topic in textiles. Handloom work is often less energy-intensive than mill production. It can use natural fibers and low-tech dyeing. Yet artisans can face low wages and unstable demand. Fast fashion pressures small producers with cheaper alternatives. Waste and water pollution remain industry-wide problems. But ethical fashion brands and cooperatives are changing the scene. Many groups certify fair wages and traceable supply chains. Revival of khadi and slow-fashion movements boosts artisan incomes. Repaired and recycled textiles also extend life cycles. If consumers choose well, they can push the market toward fair and green practices.
Care, Authenticity, and Buying Guide
Knowing care rules helps fabric last longer. Cotton can be machine-washed on gentle cycles. Silk likes cool washes and careful drying. Wool often needs hand-washing or dry cleaning. Always read care labels and test a small fold before washing. To spot authentic work, look for small irregularities and finished edges. Ask about the loom and dyeing process if you can. Check for regional tags or crafts council certificates. When possible, meet the seller or artisan. Buying directly from cooperatives or trusted stores reduces middlemen. Finally, buy only what you love. A well-chosen piece stays in your wardrobe and reduces waste.
Indian Textiles in Modern Fashion and Global Markets
Modern designers blend heritage with new shapes. Runways borrow motifs from ikat and kalamkari. Streetwear reuses old saris into jackets and bags. Global stores source handloom fabrics for capsule collections. This trend widens markets for artisans. But it can also blur origin and credit for designs. Proper attribution and fair contracts matter. Brands that invest in craft training and fair pay build long-term value. Export demand helps small weaving towns. Yet local markets remain vital for steady income. When buyers insist on traceability, the whole chain improves. Fashion can be a powerful ally for living crafts when done ethically.
Stories from the Loom: Personal Notes and Case Studies
I once visited a small weaver’s home near a river. The loom filled the room with soft clacks and rhythmic motion. A grandmother taught two young apprentices the same pattern. They laughed while explaining dye recipes and warp counts. A single sari there took nearly a week to finish. The family sold some pieces in a nearby city and kept others for family use. That moment showed me how textiles are woven into daily life. Stories like this repeat across India. They remind us a textile is more than matter. It is memory, time, and a careful set of decisions from tree to thread.
How to Support Artisans and Preserve Craft
Supporting artisans goes beyond buying a product. Buy fewer items and buy quality. Seek direct links to craft collectives and fair trade groups. Learn about the technique and ask questions at markets. Share authentic pieces on social media with credit to the maker. Repair and alter old textiles instead of discarding them. Gift handloom items to encourage demand. Consider volunteering or donating to craft preservation programs. When possible, push brands to disclose supply chains. Each small action helps maintain skilled livelihoods. Preserving craft keeps stories and regional identities alive for future generations.
Conclusion: Why Indian Textiles Matter Today
Indian textiles carry history, skill, and sustainable promise. They connect local lives to global trends. When you choose a handloom piece, you support people and places. You also keep alive techniques that take time and care. Learning how to recognize true craft makes your purchase meaningful. Ask questions, read labels, and prefer transparent sellers. Share what you learn with friends and family. Small choices add up and protect heritage. I hope this guide helps you see the value of indian textiles. Treat them well, and they will tell their story for years to come.
FAQs
1) What makes a handloom textile different from mill-made cloth?
Handloom textiles are woven using manual or semi-manual looms. A weaver controls every pick and pass. The work often shows slight irregularities in weave and pattern. These marks are signs of human effort. Mill-made cloth uses power looms and machines. Machines give uniformity and speed. Handloom products often require more time to make. They use traditional skills and local designs. This can make them more valuable and unique. Handloom items may need gentle care and occasional repairs. Buying direct from cooperatives helps ensure fair pay for the weavers. Look for craft labels or ask sellers for origin details.
2) How can I verify the authenticity of an indian textiles piece?
Start by checking the feel and finish. Handcrafted pieces often have small, natural irregularities. Look at the selvedge and knotting for handwork signs. Ask about the place of origin and the craft technique. Trusted shops may provide craft council or cooperative tags. Seek photos of the workshop or artisan when possible. Compare prices—extremely low prices can signal mass production or imitation. Test a small hidden area for color fastness before washing. Finally, buy from shops or platforms that clearly describe the supply chain. These steps reduce the chance of buying a mislabelled item.
3) Are natural dyes better than synthetic dyes?
Natural dyes come from plants, minerals, and insects. They often feel softer and age naturally. Some people prefer them for skin sensitivity and ecological reasons. Natural dyes can fade gently, which many find beautiful. Synthetic dyes are cheaper and more color-fast. They enabled broader, affordable production in modern times. However, some synthetic processes may use harmful chemicals. The best choice depends on values and use. If you care about ecology and tradition, prefer natural-dyed indian textiles. If you need very bright, fast colors, a responsibly managed synthetic dyeing process could be acceptable.
4) How should I wash and store silk and brocade garments?
Silk and brocade need gentle handling. Check care labels first. For many silks, hand wash in cool water with mild soap. Avoid wringing or hot water. Lay flat to dry in shade to prevent fading. Brocade with zari or metallic threads often needs dry cleaning. Store these garments in breathable cotton bags to avoid moisture. Keep them away from direct sunlight to protect colors and gold thread. Use tissue paper between folds to prevent creases. Refresh occasionally by airing in shade. Proper care will keep these delicate indian textiles looking rich for years.
5) Can indian textiles be a sustainable wardrobe choice?
Yes, they can be. Handloom work often uses natural fibers and low-energy methods. Crafted pieces are designed for long-term use. Choosing repairable, high-quality cloth reduces waste. Support brands that pay fair wages and use transparent supply chains. Avoid single-use fashion and cheap imitations. Reusing and upcycling old indian textiles gives them new life. However, sustainability depends on production choices. Check for responsible dyeing, minimal waste, and fair labor practices. A mindful purchase can help the environment and support artisan communities.
6) Where can I buy authentic indian textiles without overpaying?
Look for certified cooperatives, craft bazaars, and local artisan groups. Many government and NGO platforms list verified sellers. Visit artisan clusters or regional markets if you can. Boutique stores that work directly with weavers often offer fair prices. Online platforms can help, but check seller transparency. Ask about origin, technique, and supporting documentation. Compare prices across sellers to understand market range. Remember that paying a fair price helps artisans continue their craft. A reasonable investment today keeps the skill alive for tomorrow.


The Ultimate Guide to Wedding Tent Decoration: Transform Your Outdoor Celebration
Introduction Planning a wedding can be exciting but also overwhelming. One key element that can make your big day unforgettable...


My Father Essay 10 Lines: A Heartfelt Guide for Kids
Introduction Writing about our fathers can be one of the most personal and meaningful exercises. Fathers play a special role...


Alfred McArthur: A Complete Guide to the Name, Works, and Legacy
Introduction — Meet Alfred McArthur Alfred McArthur is a name that shows up in books, music, and media. People often...


“Duster SUV: Complete Guide to Features, Specs, Safety, and Buying Tips”
Introduction The word Duster brings to mind a simple, sturdy SUV many people trust. This car feels practical and honest....


Keeping It Simple: Why Uncontested Divorce Feels Like a Breath of Autumn Air
The Beauty of Simplicity There’s something undeniably soothing about a crisp autumn morning; the way the cool air clears your...


What is Zivechatz? Full Review, Features, and How to Use It
Introduction — Welcome to Zivechatz and why it matters Zivechatz is a fresh name you might see when looking for...


온도 onuconvert — Easy Temperature Conversion Guide (English)
Introduction: What this guide will do for you This guide helps you understand temperature and how to convert it fast....
-
 Technology3 years ago
Is Camegle Legit Or A Scam?
-
 Travel3 years ago
NEW ZEALAND VISA FOR ISRAELI AND NORWEGIAN CITIZENS
-
 Uncategorized3 years ago
AMERICAN VISA FOR NORWEGIAN AND JAPANESE CITIZENS
-

 Fashion12 months ago
Goda Perfume Reviews: Is It Worth Your Investment?
-
 Health3 years ago
Health Benefits Of Watermelon
-

 Home Improvement7 months ago
Artificial Grass Designs: Perfect Solutions for Urban Backyards
-
 Technology3 years ago
RNDcoin: Korea’s first blockchain project and a world-class cryptocurrency
-
 Fashion2 years ago
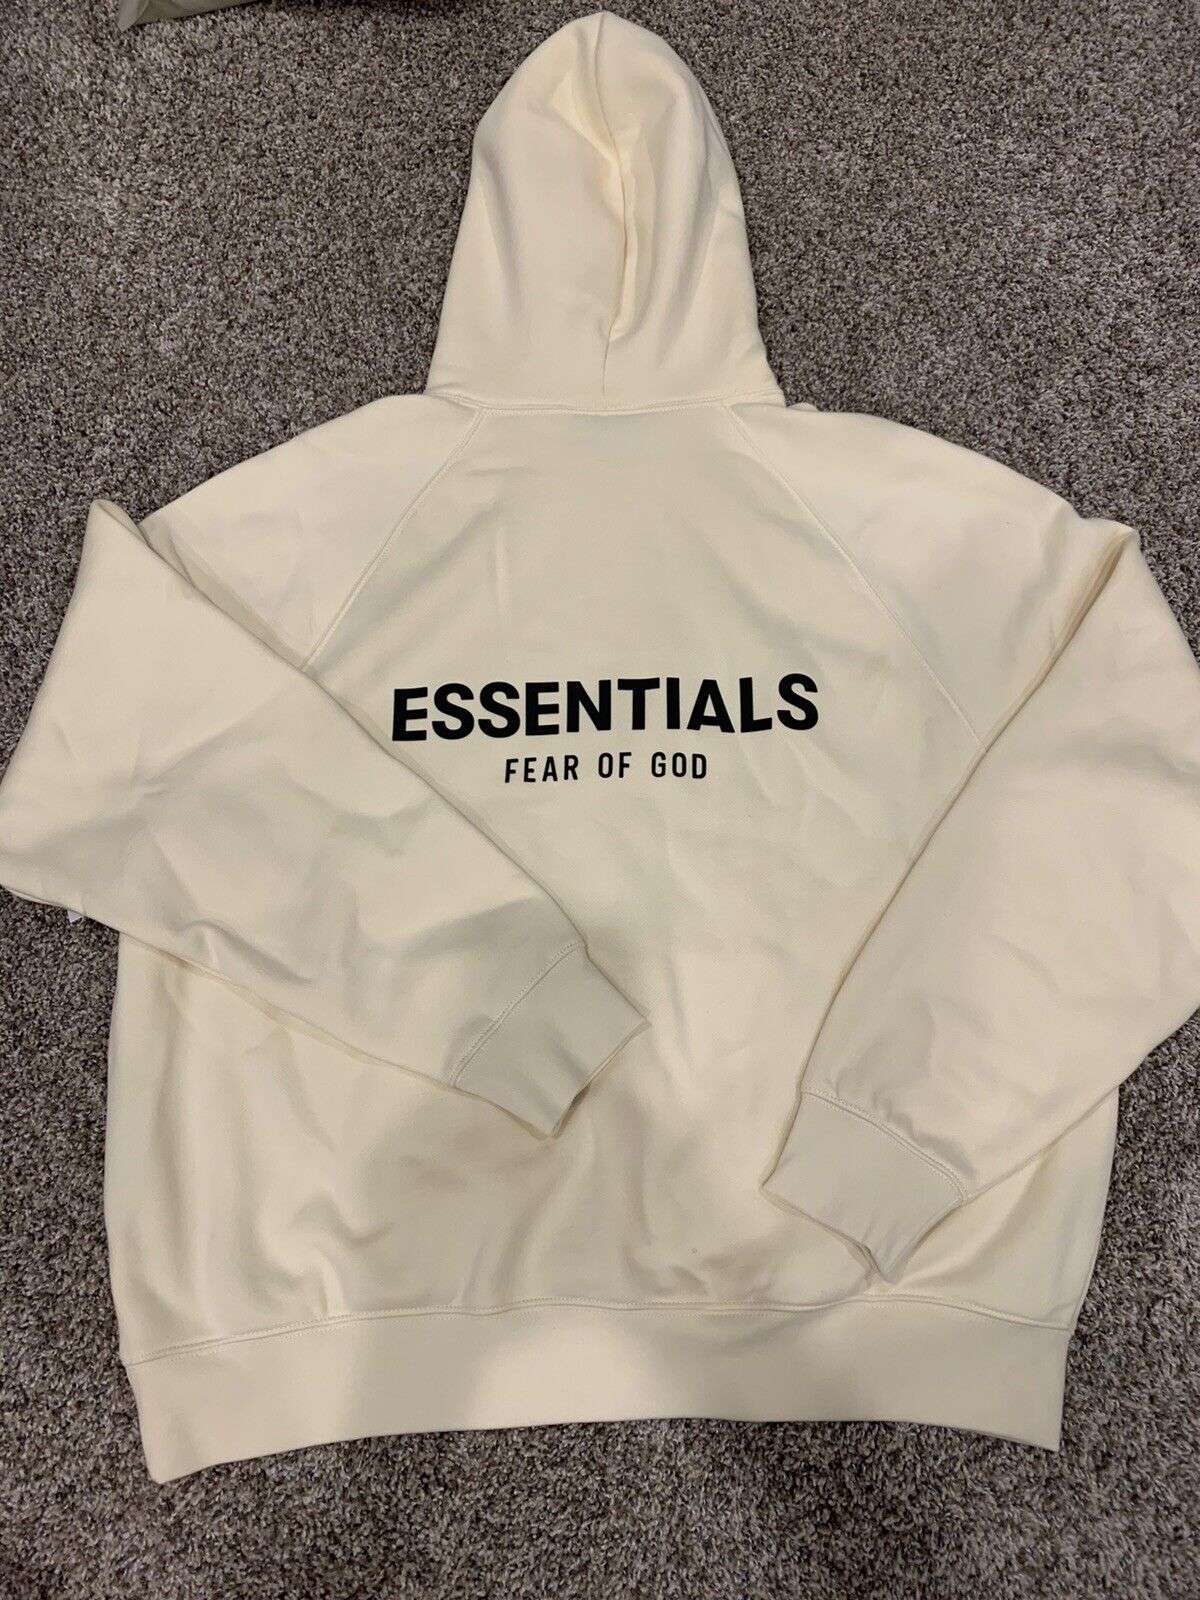
Best Essentials Hoodies For Cold Weather